
Debugging on iOS 15 with Xcode 12
Every year we get a new major iOS version to test our apps on. The lucky ones can immediately upgrade to the newest Xcode 13, building against the latest iOS 15 SDK. Some other, larger projects can take a while to get upgraded, and have to be built with Xcode 12.5 in the meantime.
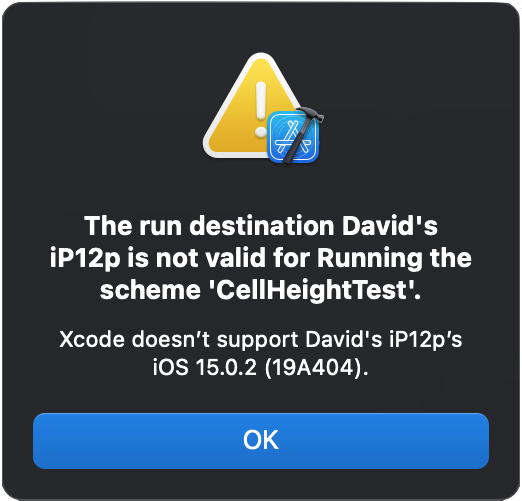
Out of the box, older Xcode versions can’t work with newer iOS versions. If you try to use an iOS 15 device on Xcode 12.5, the device will be marked as unsupported and when running you’ll get an error: The run destination is not valid for running the scheme. Xcode doesn’t support iOS 15.
However, with some tricks, I could not only run on iOS 15 with Xcode 12.5 but also debug with breakpoints and much more.
If you’re looking for the last years post, it’s here: Debugging on iOS 14 with Xcode 11
On This Page
With Xcode 13 installed
If you can have both Xcode 13 and Xcode 12 installed on your machine, then you’re in luck. Due to changes in Xcode 13, Xcode 12 can now pick up device support files for newer iOS versions. There is no need to copy device support files or anything like that anymore.
Chances are, you will need Xcode 13 anyway - for other projects or just for playing around with - so this is a great option.
Once you have Xcode 13:
- launch it
- install command line tools when prompted
-
run any project against your iOS 15 device at least once with Xcode 13. This will install device support files on your machine. If you’re curious, you can see them in
~/Library/Developer/Xcode/iOS DeviceSupport. Every time you update your device to a new iOS version, redo this step.
Voila, you can now use your device in Xcode 12.5 for running, debuging, etc as normal 🙌
To install Xcode 13 in parallel with Xcode 12, I can think of a few options:
- use xcode-install command-line tool
- download Xcode 13 from Downloads
- if you install your Xcode from App Store, upgrade it and download Xcode 12 again from Downloads
- if you install your Xcode from App Store, zip or move Xcode.app before upgrading the App Store version (just renaming won’t help), and unzip/move back to
/Applicationsagain after App Store update is complete.
Note: Using Xcode 13.0 or above should be enough to support any iOS 15.x version. For example, to make Xcode 12 work with a device with iOS 15.1, it’s enough to perform the procedure above using Xcode 13.0. No need to upgrade to Xcode 13.1. However this method has not been tested with beta versions of Xcode or iOS.
How to prevent accidental rebuilding with Xcode 13
Since you’re building with Xcode 12, but also have Xcode 13 installed, you might accidentally rebuild on Xcode 13 and end up pushing a very different build of the app than originally intended. To avoid accidentally building with Xcode 13, you can add a conditional compilation error for that case:
#if compiler(>=5.5)
#error("This project should not be built on Xcode 13")
#endif
This piece of code can be placed anywhere in the source. The #error directive is skipped when the source code is compiled with a Swift compiler of any version lower than 5.5, which corresponds to Xcode 12.5 or older.
This way, it’s not even technically possible to accidentally build on Xcode 13.
Without Xcode 13 installed
If you can’t have Xcode 13 installed on your machine for some reason, there are still ways to run and debug on devices with iOS 15.
A usual run action in Xcode consists of a few independent steps:
- Building for the device.
- Installing the app on the device.
- Launching the app.
- Attaching a debugger.
These steps rely on Xcode being able to communicate with the physical device, and the communication interface changes between iOS versions. So debugging an app built with an older version of Xcode requires a few tricks.
Building and installing a debug build to iOS 15 with Xcode 12
Being able to run against the newest iOS version is a problem that we had to previously fix every year. Thankfully, the same solution works every time.
An Xcode application bundle contains support files for each iOS version it knows how to work with.
To add support for iOS 15 to Xcode 12.5, we need to copy device support files for iOS 15 into Xcode 12.
Commonly, they are copied from Xcode 13 (from a coworker’s machine or downloaded from a popular shared repo).
It’s been already widely discussed, so here’s an article I like on the topic: How to Fix Xcode: “Could Not Locate Device Support Files” Error.
Launching the app
With the default setup, a debug app build will automatically try to launch on the selected device after installation. Sadly, Xcode 12.5 doesn’t properly know how to launch apps on iOS 15 - it will try, but the app will feeze on the launch screen (at least that’s what I experience).
We can work around the freezing issue by disabling debugging during launch. Don’t worry, we can re-attach the debugger after the app successfully launched.
To disable debugging during launch, disable the “Debug executable” checkbox:
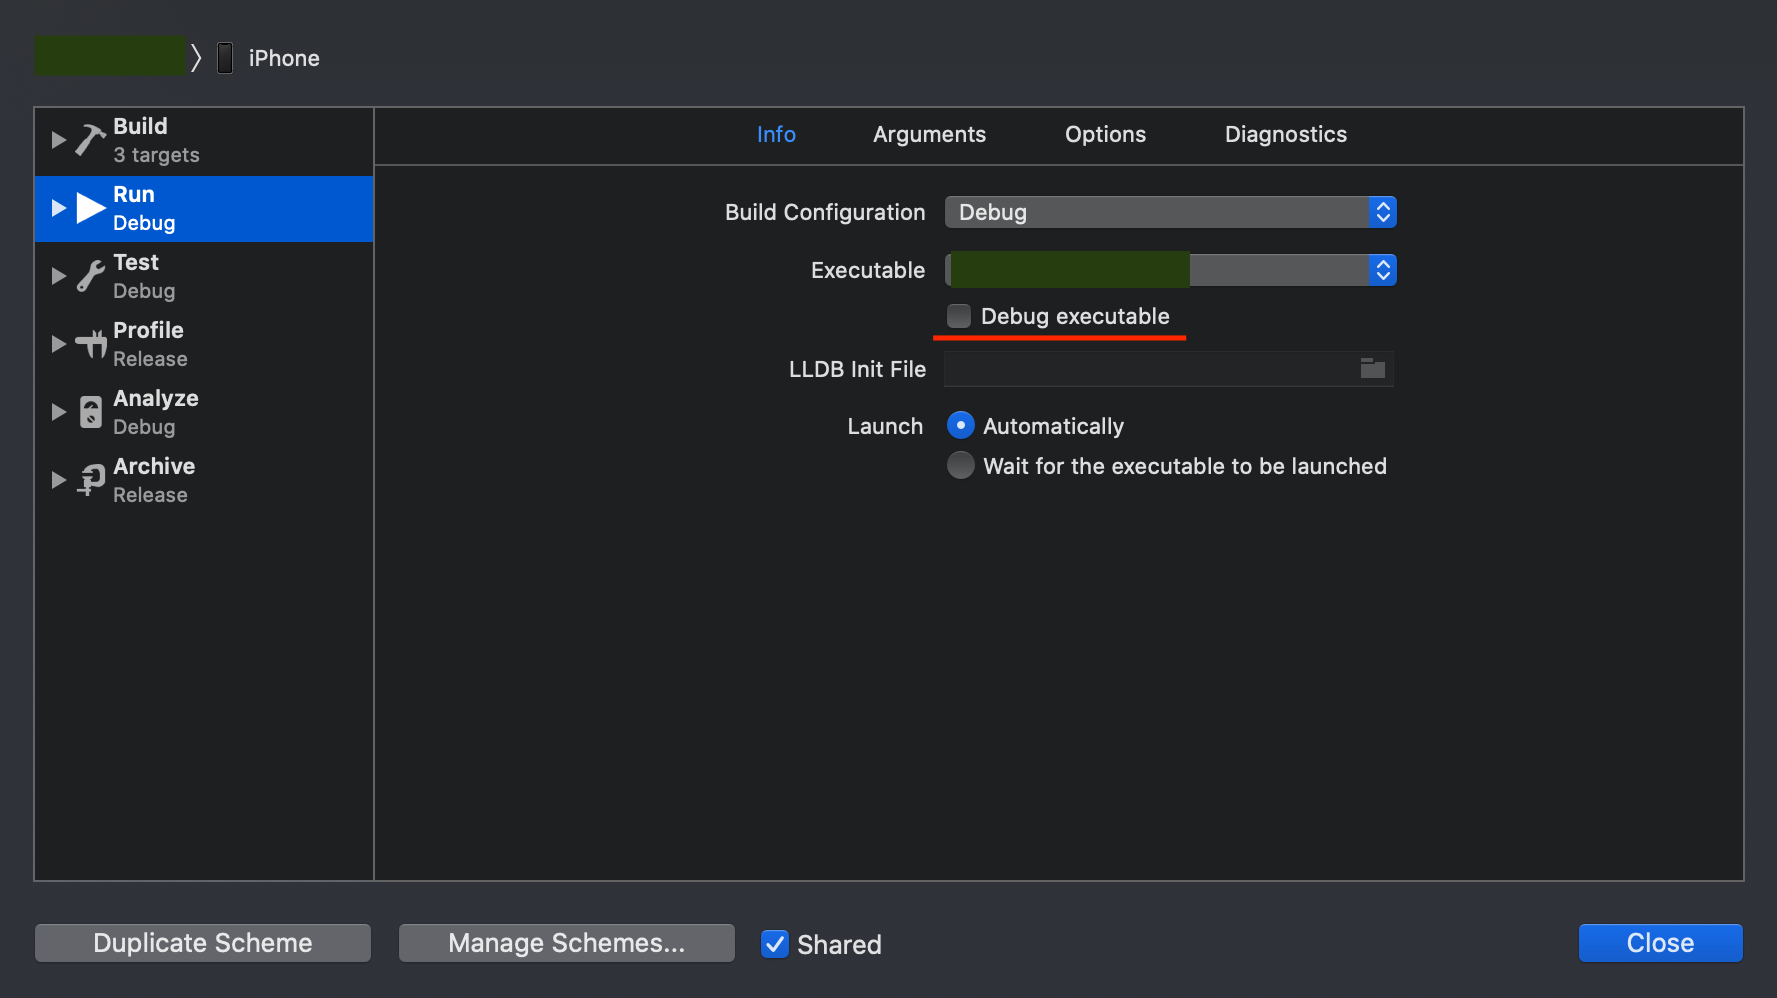
After disabling this checkbox, the app will be launching normally, although without a debugger. The app can be used, and logs show up in Xcode’s console as expected. See below how to get the breakpoints to work.
Debugging with breakpoints
If you need proper debugging, I recommend installing Xcode 13 on the side (the easier option), see above: with Xcode 13 installed. If that’s not possible, Xcode 12.5 seems to be able to debug apps running on iOS 15 even without Xcode 13 installed on the side, although there might be subtle issues. If that’s your only option, continue reading to learn how to make it work.
Once the app has been launched, we need to attach the debugger to the running process manually.
At any point of testing the app, we can attach the debugger
by going to menu option Debug > Attach to Process and picking the app’s process.
The app name should appear under “Likely targets”. It might take a couple of seconds to connect.
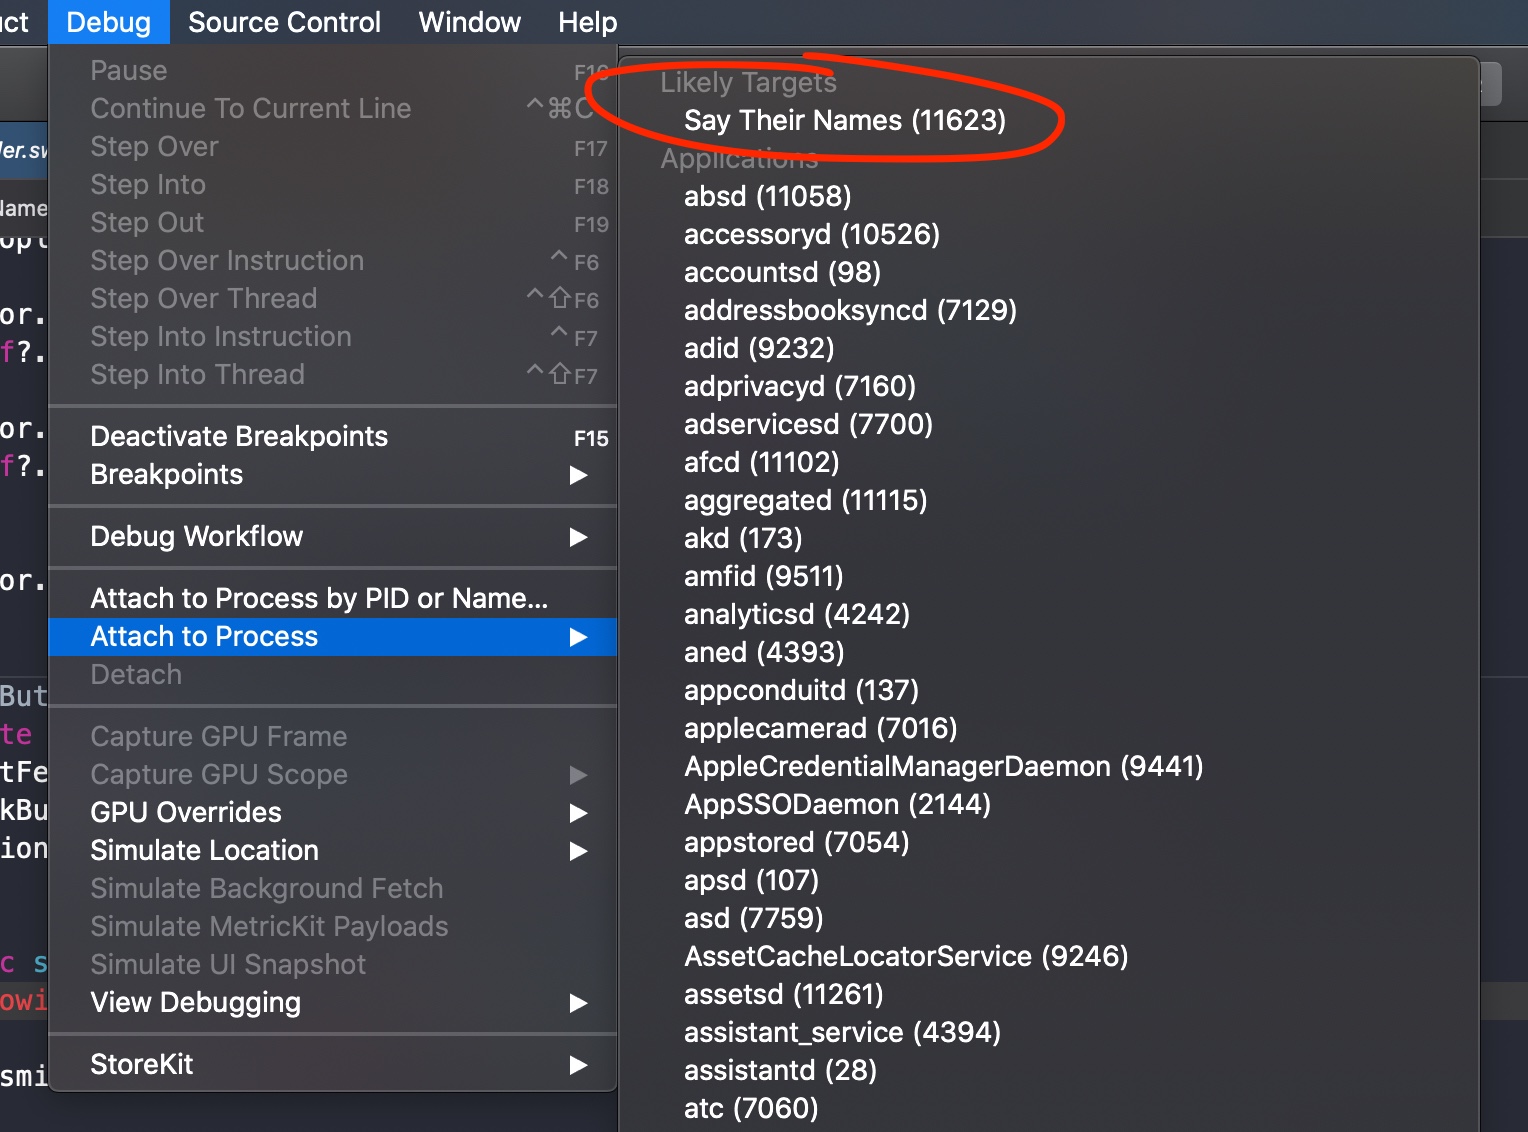
It will say already being debugged next to the process name once it’s been attached successfully.
Sadly, once debugger is attached, the console output disappears from Xcode’s console. This is because the console gets taken over by the debugger, and debugger itself doesn’t route app’s stdout to the console. There’s still a way to access the logs though 👇
Logging
If we also want to look at logs after debugger was attached manually, we can look at them in the Console app.
To have app’s logs show up there, we need to log them using the relatively new system os framework:
import os
...
func logError(_ msg: StaticString, _ params: Any...) {
    os_log(msg, log: OSLog.default, type: .error, params)
}
...
logError("Value: %{public}@", property)
Using %{public}@ instead of just %@ allows us to see the variables even with no debugger attached.
Variables are private by default to prevent leaking sensitive data via logs.
Read more about unified logging on SwiftLee.
Device logs can be examined with the possibility to filter by many parameters such as app name, log level, and many more:
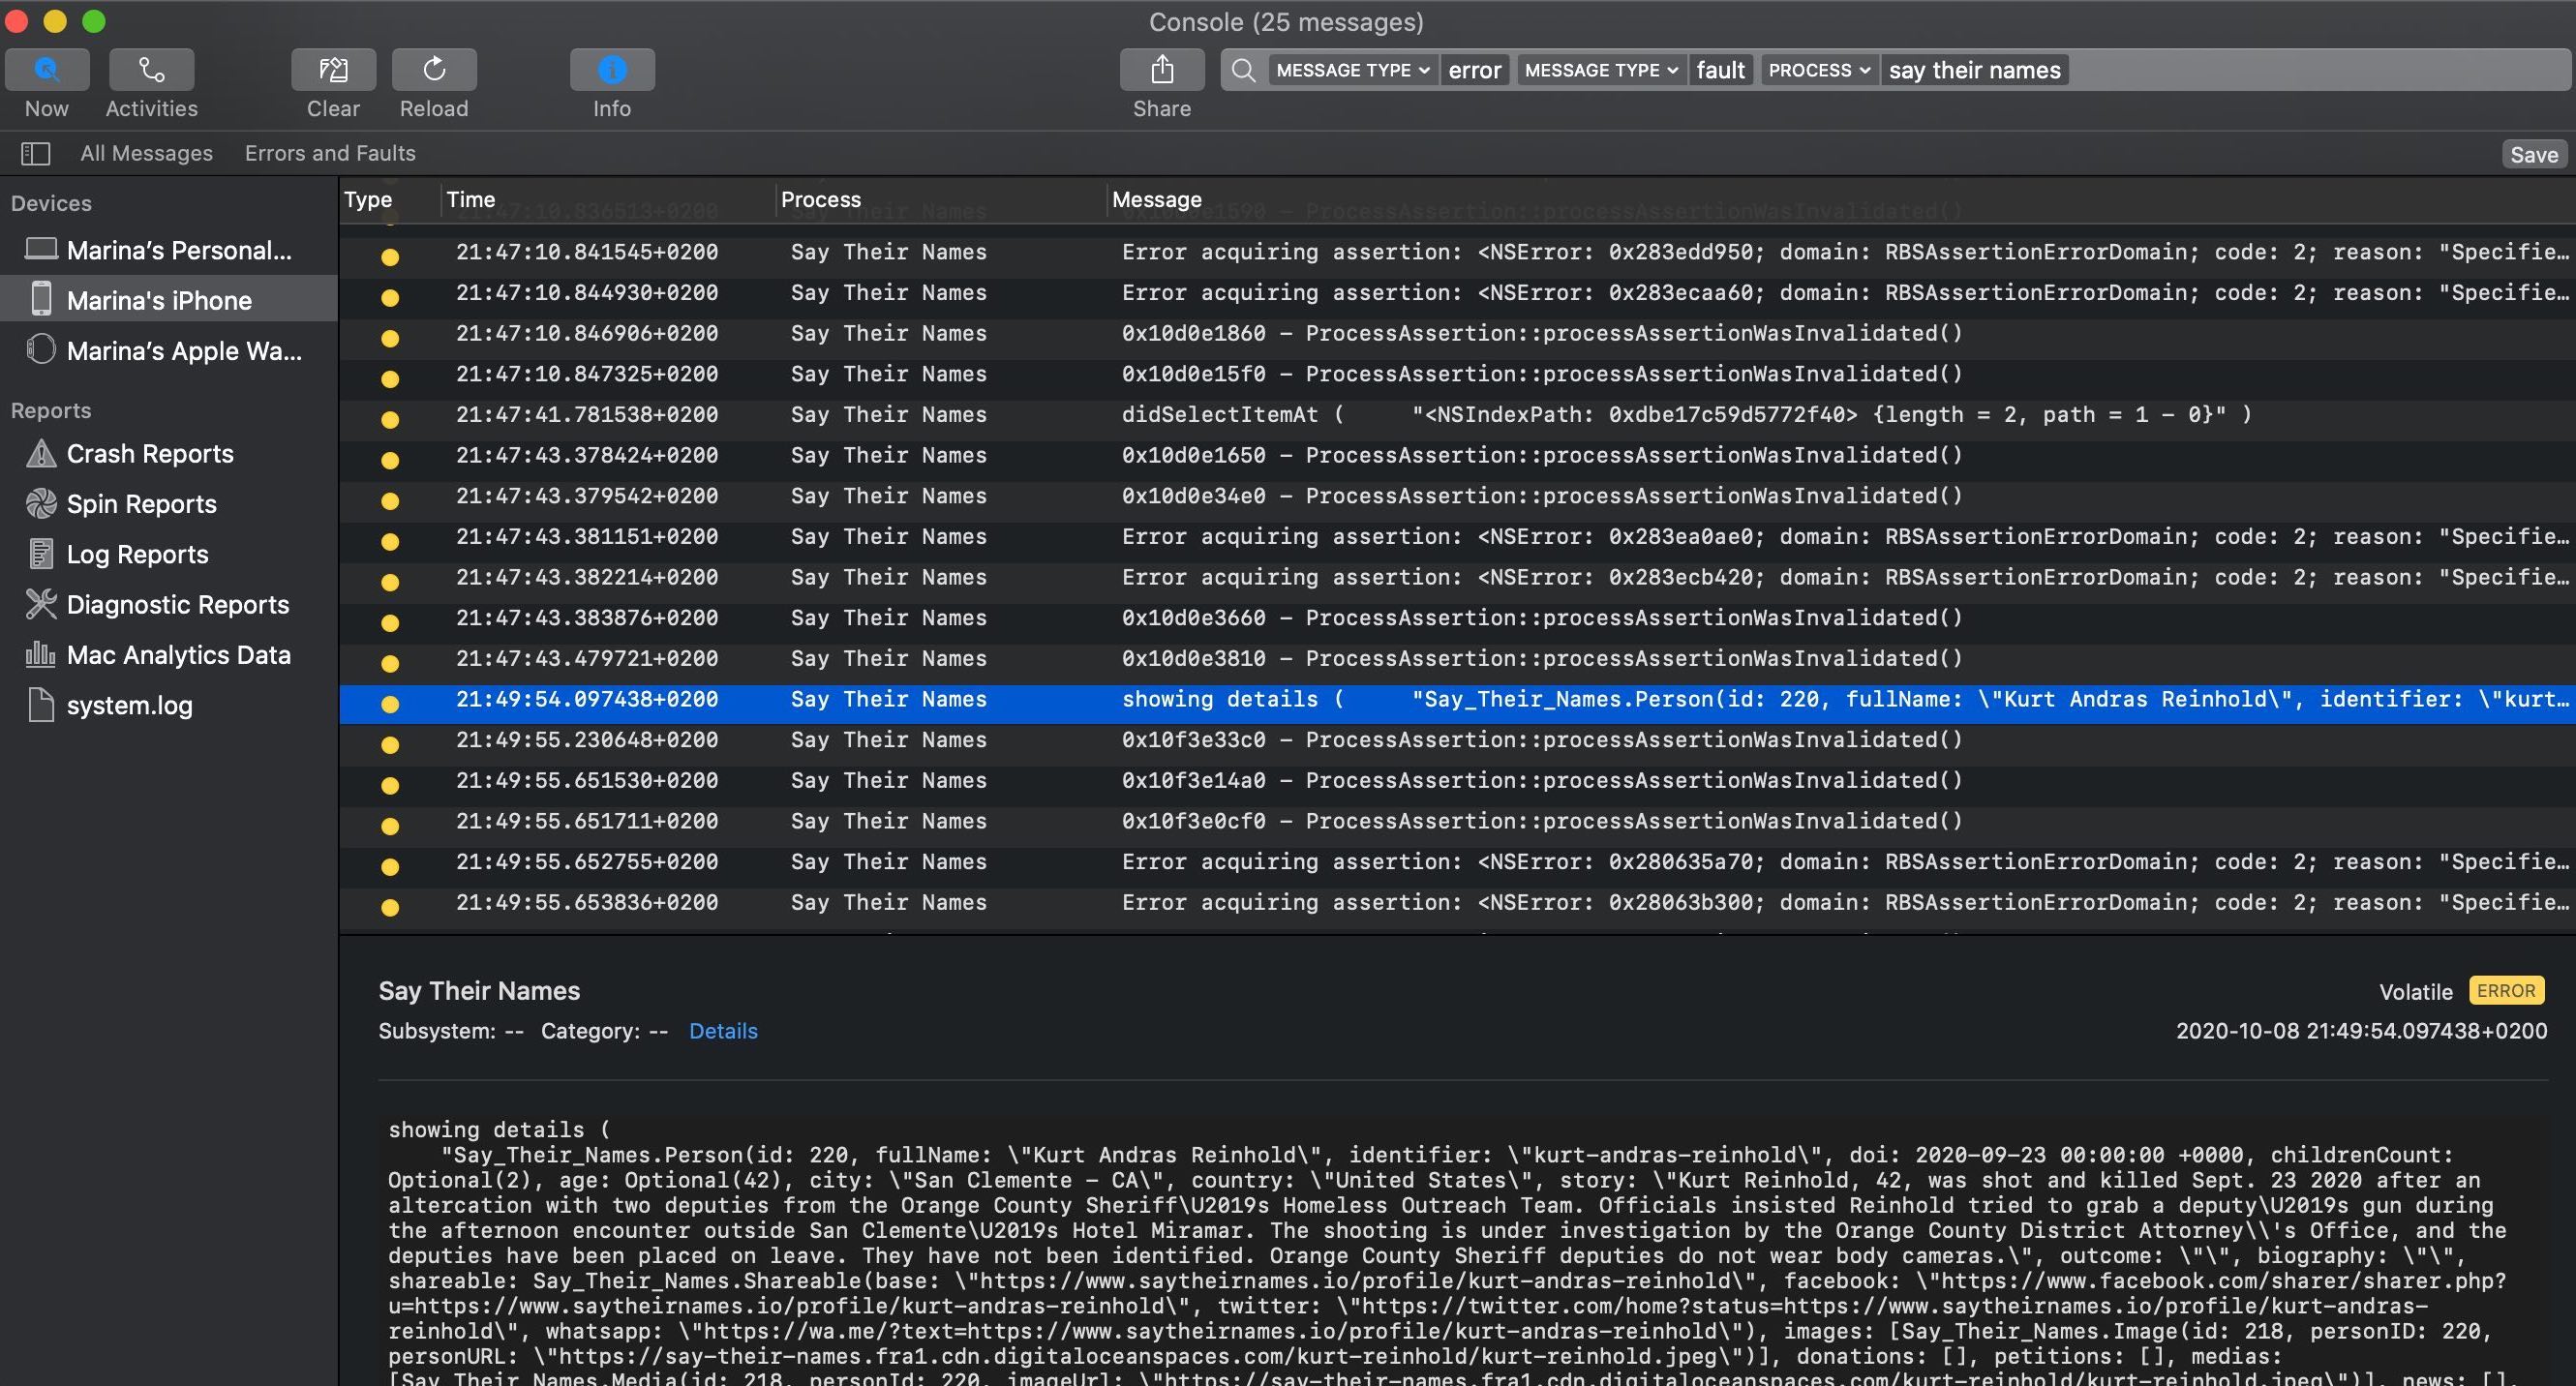
I logged my app’s messages with log level .error because they have a distinct yellow dot next to each message, making it easier to filter out the majority of system messages.
It’s worth mentioning that messages logged with NSLog will also show up in Console app.
I don’t recommend using NSLog in Swift code, as os_log is the preferred way of logging on Apple platforms these days.
Wrapping up
Even those of us who are not so lucky to be able to upgrade to Xcode 13 right away can run and debug apps on devices running iOS 15.
By installing Xcode 13 on the side, we can give Xcode 12.5 full debugging capabilities on iOS 15. We can also build, launch, and test the app on iOS 15, and examine the logs using the system Console app, all while having only Xcode 12.5.
I hope these tricks can help someone else too :)
Thanks for reading. I hope you enjoyed the post 🙌
To get notified about new posts, follow me on Twitter or subscribe to the feed.
I also curate the best learnings from the community in a bi-weekly iOS Code Review newsletter 💌
This post is licensed under CC BY NC SA 4.0 by the author.